 |
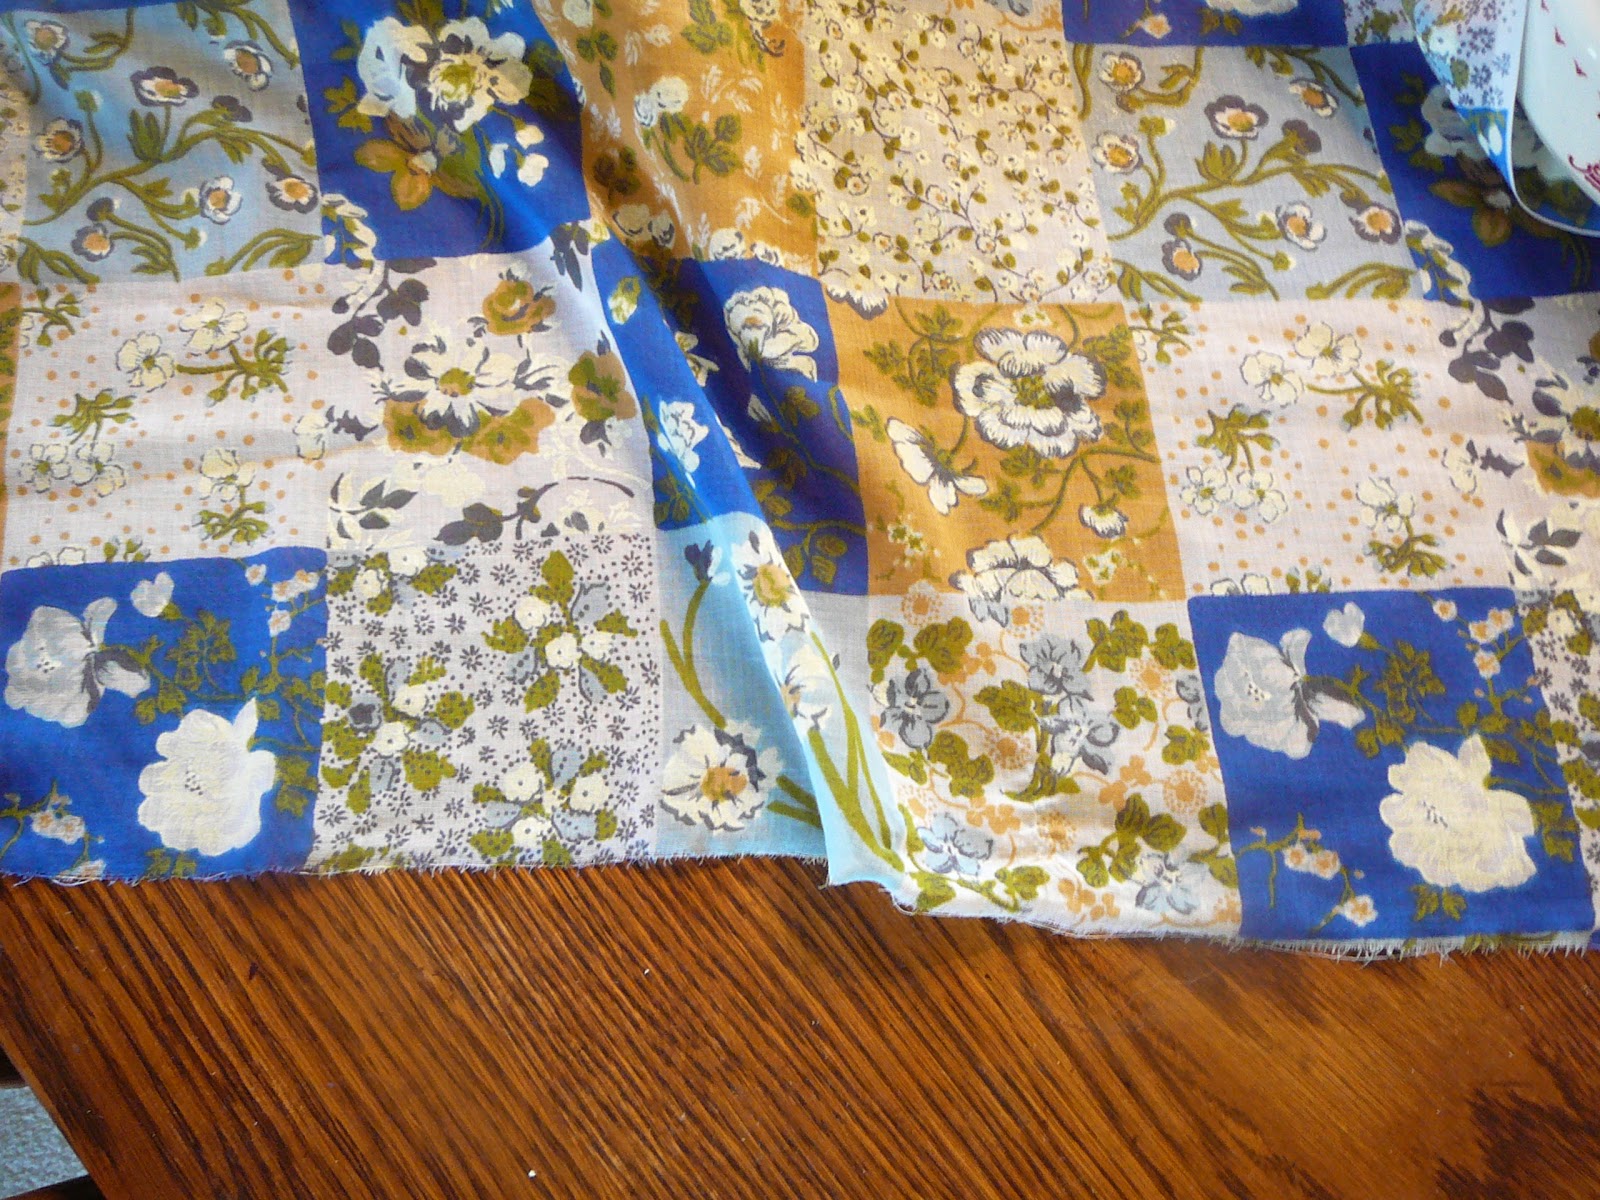
| This batch of blue fabrics has been washed, dried, and is ready to sew. |
Today I thought I would share with you some basic things I always stay mindful of when contemplating a new sewing project. The first thing I do after selecting the fabric (Assuming it is a washable fabric and not a dry clean item.) Is to wash it in the washing machine using detergent and run it through the dryer. This removes any lingering chemical finish and preshrinks the fabric. Better now than to shrink than later!!
 |
| I choose like colored fabrics and wash them in batches together. |
If you are piecing quilt pieces the rest of this is not important. Just wash and press the fabric. But. if you are investing a lot of money and trying to make an article of clothing or something that needs to "hang" properly and if it is a "woven" fabric. Read on please. I am sharing with you the way I learned to sew. It is not new and improved and I am not an expert but this is the way I do things and I am willing to share what I have learned.
 |
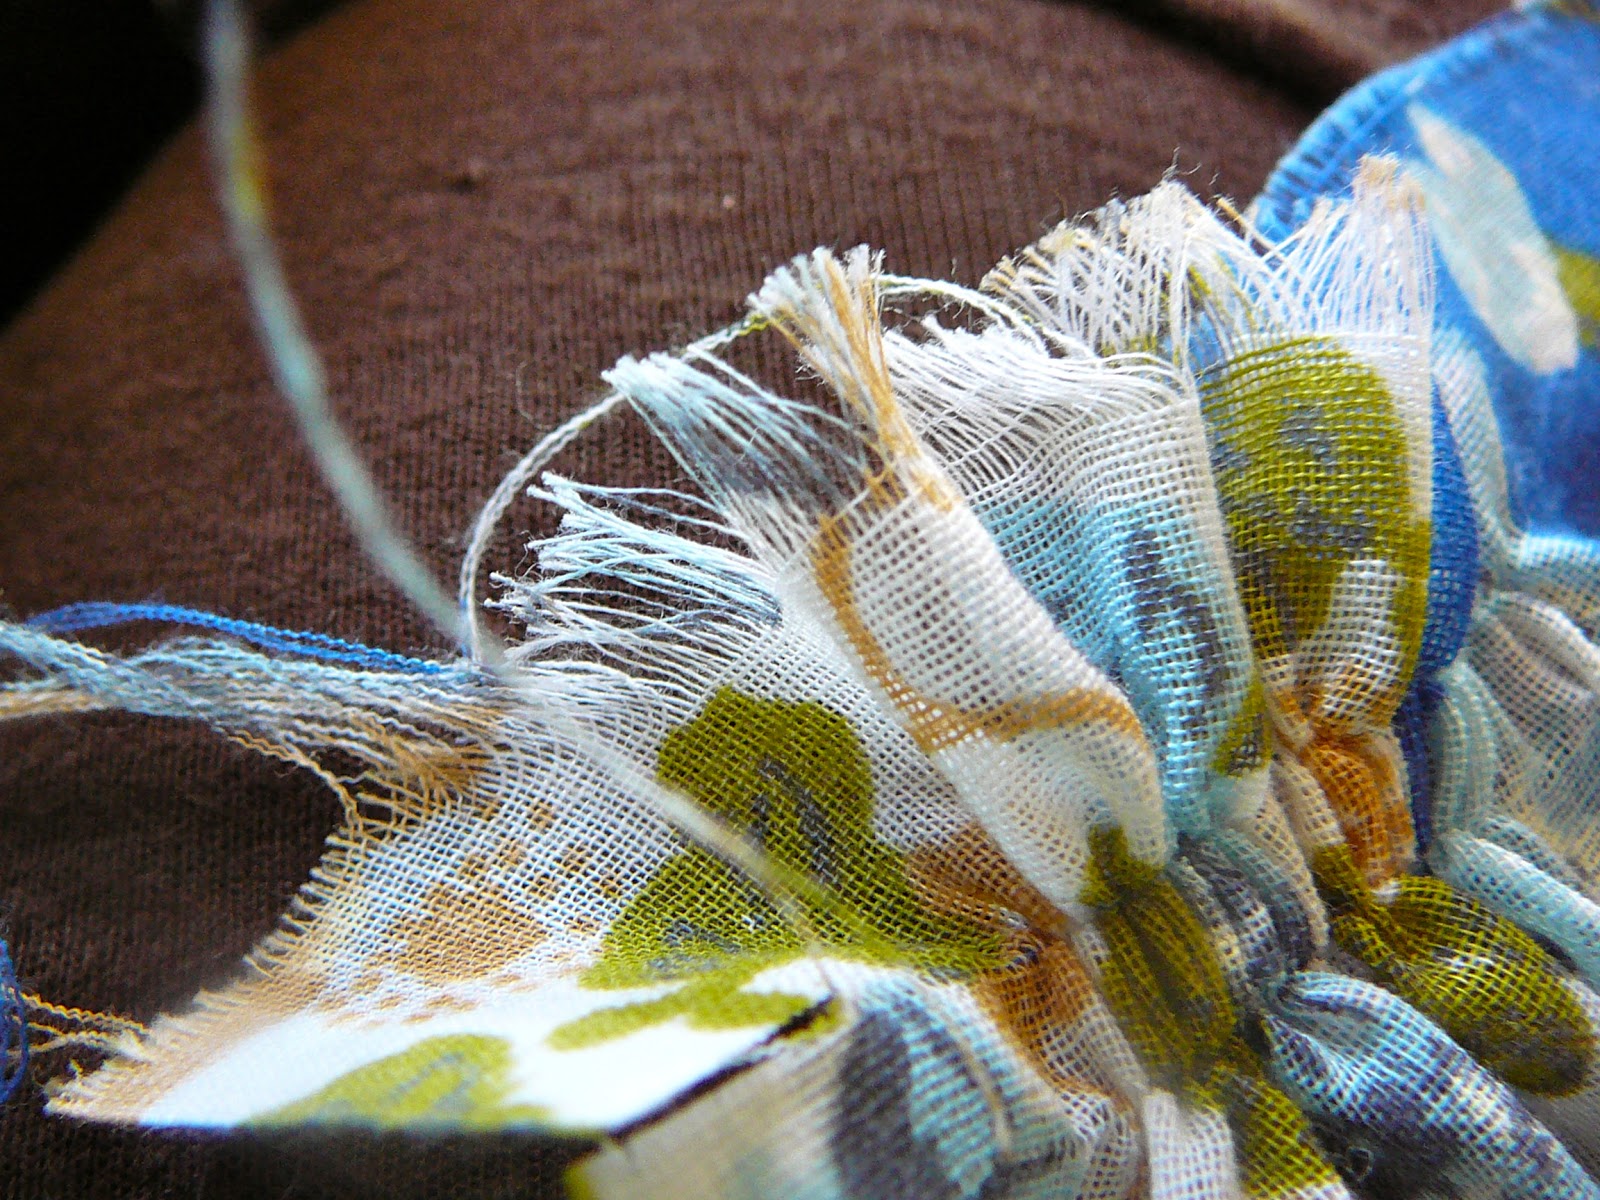
| Cut a 1/2" slit through the salvage edge and tear across to the other side then clip the other salvage. |
You sometimes need a straight edge and many things you make require that be determined. When they cut your fabric at the fabric store it is NOT straight. I know of two ways to determine this. The first and easiest is to cut about a 1/2" place in the salvage close to the cut edge and then tear the fabric. You will need to clip it when the tear reaches the other salvage edge instead of stressing the fabric to try to get the salvage to tear. It always tears straight with the grain of the fabric. There are instances you would not want to do this. An example is if it were a very delicate or fragile, or a very heavy fabric or if you were making a fringed article.
 |
| Start with 2 threads as you may break one, I did. |
That situation might be better served by "pulling a thread". The way I do this is to make 2 quarter inch cuts in the salvage edge next to each other and grab from the two cuts two strings in the weave. Then very gently start to uniformly and both at the same time pull them gently into gathers all of the way across the fabric. As the fabric gathers and the strings pull you can see and that becomes the cutting line for a straight edge. The only reason I do two is for back up! In case I don't have good luck with one for some reason. It also lessens the pressure on just one thread when you use two. If a thread breaks just get a straight pin and fish out the thread and continue until you are all of the way across with one or both threads. Now you have the true straight edge of the fabric end.
 |
| This line gives you a true straight line to cut on. |
 |
| An easy cut. |
 |
| Nice and straight. |
Note: If you wanted to make a scarf with a fringed edge all you would need to do now is to measure however many inches deep you wanted the fringe to be and sew a double line one on top of the other at that place straight across. Then you just start pulling one thread after another across the edge you just made stopping just before you get to the double stitched edge. If you wanted a long narrow scarf you could do this at the two short ends. If you were to want a square scarf you could find your straight edge and pull threads until you make the square. Cut it out. Determine how deep you want the fringe. Example 2", so sew 2" inside the raw straight edge all of the way around the square. Then do it again on top of the first line of stitches. Just pull the threads and unravel the 4 sides of the scarf until you are just in front of the line you double stitched.
Now back to preparing to sew!
Next I get out the trusty ironing board and press the fabric. Then evenly, as directed by the pattern if I am using one, and as determined by the width of the material I fold it to get the best usage of the pattern pieces. I do NOT press the fold with my iron but instead I pin the fabric in place evenly. No sense in pressing in a line or crease I would not want in the finished article.
While placing pattern pieces I usually use the guide in the pattern and always keep the grain lines on the pattern pieces straight with the *grain of the fabric. If you do not know what I am talking about I will explain now. There is usually a long arrow on a pattern piece. For example on a blouse front. To be sure the finished garment will hang correctly you must be sure to both pin and cut the fabric so it is positioned correctly. This is done by using your tape measure and measuring from the very ends of the arrow to the *salvage edge. If one end is 6" then the other end must also measure 6" to the same salvage edge. There can often be two arrows. One up and down and the other across. If you are not measuring to a salvage edge usually you are measuring to a presumed to be straight fold.
*The grain of the fabric is the direction the threads are running. Across as well as up and down.
*The salvage edge is the naturally finished long edge of fabric as it is cut from a bolt as contrasted by the cut edges where a portion is removed.
The exception to this is if you are intentionally cutting the fabric on the bias. That is a whole 'nother conversation and procedure!
Next I mark my pattern pieces with either tracing paper and a tracing wheel, seamstress chalk, or by pinning it in such a way that I will remember what I am doing. The first two are the better habit to form. But I use all three. Now cut your pattern taking care to include all notches and markings.
I try to get all of this done first and be organized and exacting about it all.. It is the prep work and once you get past all of this you can SEW!!


No comments:
Post a Comment